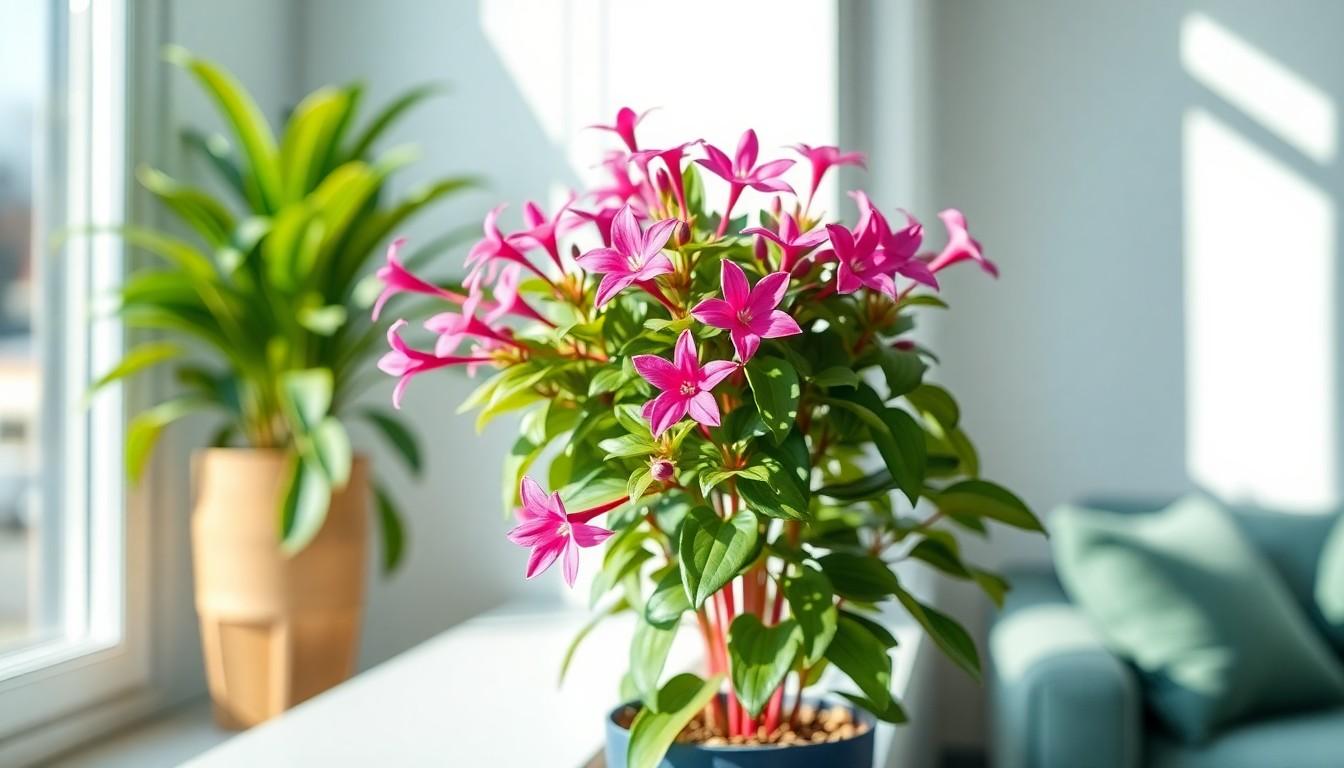
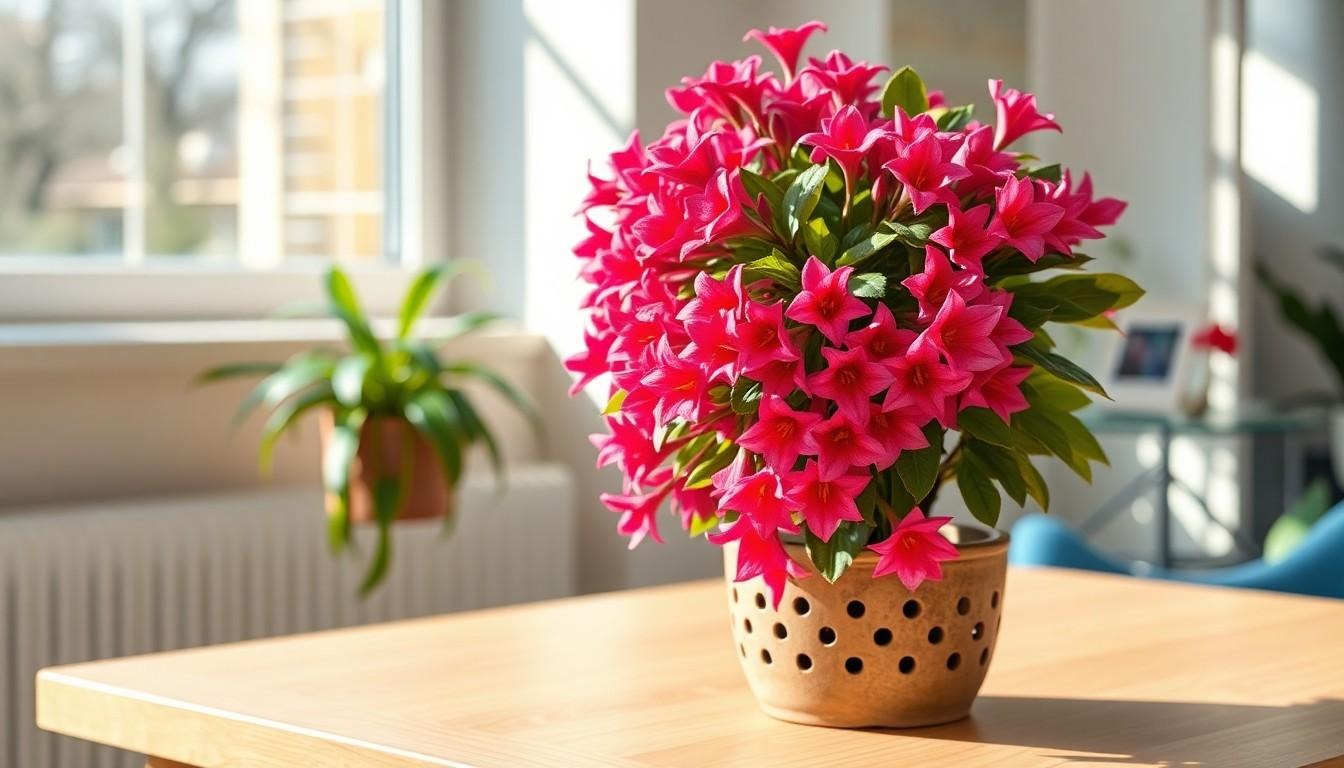
If you’re looking for a plant that brings a pop of color and a dash of charm to your home, the Calandiva is your go-to green companion. This vibrant succulent, with its stunning clusters of flowers, is not just a pretty face; it’s also a low-maintenance superstar. Perfect for those who want to impress without the stress, Calandiva thrives with just a little TLC.
Calandiva Plant Care
Calandiva is a delightful member of the succulent family, known for its rosette-shaped leaves and abundant clusters of flowers. This plant typically blooms in shades of pink, red, and white, offering a vibrant display throughout its growing season.
Adapted for indoor environments, Calandiva thrives in bright, indirect sunlight. Optimal conditions encourage robust growth and prolific flowering. It accommodates various home lighting situations, making it suitable for different locations.
Watering this plant requires a balanced approach. It prefers soil that is dry to the touch, with watering occurring when the top inch of soil seems dry. Overwatering can lead to root rot, a common issue for succulent plants.
Fertilization enhances the plant’s growth. Using a diluted, balanced fertilizer during the growing season promotes healthier foliage and more abundant blooms. A monthly feeding during spring and summer often suffices.
Calandiva benefits from well-draining soil, such as a cactus blend that prevents water retention. Potting in containers with drainage holes allows excess moisture to escape, ensuring the roots remain healthy.
Propagation is straightforward and often done through leaf or stem cuttings. Allowing the cuttings to callous before planting encourages root development. Optimal success occurs with careful monitoring of soil moisture levels during this process.
Essential Care Requirements

Calandiva plants require specific care to thrive. Understanding their needs promotes optimal growth and beautiful blooms.
Light Conditions
Bright, indirect light sustains Calandiva’s vibrant flowers. Direct sunlight, especially in the afternoon, may scorch the leaves. Placing the plant near a window that filters sunlight ensures healthy growth. Too little light can lead to leggy growth and fewer blooms. Regularly monitoring light exposure helps maintain its vibrant color and overall health.
Watering Needs
Soil should dry out completely between watering sessions. Overwatering often leads to root rot, a common issue for Calandiva. Water lightly and allow excess to drain from the pot’s base. During the growing season, weekly watering suffices, while reduced frequency occurs in winter. Adjusting the watering routine based on temperature and humidity ensures consistent care.
Soil Composition
Well-draining soil ensures the plant’s roots remain healthy. A mixture of cactus soil and potting soil works effectively for Calandiva. Adding perlite or sand enhances drainage and prevents excess moisture build-up. Avoiding heavy soils promotes airflow around the roots, which is vital for growth. Repotting every couple of years refreshes the soil and provides additional nutrients.
Nutritional Needs
Calandiva plants require specific nutrients for thriving, particularly during their growing season. Proper fertilization supports vibrant blooms and overall health.
Fertilizing Frequency
Fertilizing the Calandiva occurs every four to six weeks during the growing season. This timeframe ensures adequate nutrient availability when the plant actively grows. In winter, fertilization reduces to once every two months or stops altogether, as the plant’s growth slows down. Regular application contributes to strong, healthy blooms and foliage.
Recommended Fertilizers
Using a balanced, water-soluble fertilizer works best for Calandiva plants. A ratio of 10-10-10 or 20-20-20 provides essential nutrients without overwhelming the plant. Diluting the fertilizer to half strength prevents potential root burn while ensuring nutrient absorption. Organic options like liquid seaweed or fish emulsion offer additional benefits, promoting healthy growth and resilience against pests.
Common Pests and Diseases
Calandiva plants may face several pests and diseases that hinder their growth. It’s crucial to identify these problems early to maintain plant health.
Identifying Issues
Spider mites commonly create issues on Calandiva. Check for webbing under leaves and tiny specks of damage. Aphids also present problems, leading to distorted leaves and a sticky residue. Mealybugs may appear as white, cotton-like clusters on stems or leaves. Fungal infections can manifest as dark spots on leaves or powdery mildew on surfaces. Root rot often occurs due to overwatering, revealing yellowing leaves or mushy roots when inspected.
Treatment Solutions
To combat spider mites, increase humidity and wash the leaves with water to remove the pests. For aphids, a mixture of water and mild soap can effectively eliminate them. Mealybugs often respond well to isopropyl alcohol, applied with a cotton swab. Fungal infections benefit from improved airflow and fungicides, while prompt removal of affected leaves helps prevent spread. If root rot occurs, repot the plant in fresh, dry soil after trimming off any damaged roots. Adjust watering practices to maintain proper moisture levels for optimal recovery.
Propagation Techniques
Propagation of Calandiva is straightforward through leaf or stem cuttings. Start by selecting healthy leaves or stems from the mother plant. Cuttings should range from 2 to 4 inches in length, ensuring each section has at least a few leaves attached. Once cut, allow the cut ends to dry for a few hours. This helps form a callus, reducing the risk of rot when planted.
Prepare a well-draining soil mix for planting. A combination of cactus soil and potting mix, enhanced with perlite or sand, works effectively. Fill small containers with this mix and create small holes for the cuttings. Insert the cuttings into the soil just deep enough to support them. After planting, lightly mist the soil to promote moisture without oversaturating.
Monitoring soil moisture is crucial during the rooting process. Keep the soil slightly moist, avoiding lengthy periods of wetness. Root development typically occurs within two to four weeks. Observe for new growth which indicates successful rooting. Once the cuttings establish roots, gradually acclimate them to brighter light conditions.
Transplanting propagated cuttings into larger pots occurs once they outgrow their initial containers. This step allows for further growth and blooming potential. Regular fertilization during the growing season promotes healthy development. Using a diluted balanced fertilizer every four to six weeks supports their nutrient needs.
Propagation can also occur through division. Separating offsets or pups from the main plant during repotting offers another method for increased Calandiva plants. This technique requires careful handling to not damage the roots.

